I have been on what seems to be a never ending quest to find the perfect bobbin storage system for ME.
Many were great!!! for a while. But so many required so much "thought" or effort... I seemed to place all my effort into sewing rather than organizing pesky (until I needed them) bobbins.
The manicure system required too many parts. When I sew doll clothes, I want all the thread colors around me and this method did NOT work for me.
I usually ended up with the bobbins all placed onto one of the holders in my multi spool thread stand... which was fine and good as long as I stayed home to sew.
I tried the ice cube tray method but, yep, you guessed it. My inner child kept spilling them.
Even the magnetic bucket worked... at home.... and for my metal bobbins....
but I still needed a method that would travel.
I had real problems here !! :)

The clip method... or the alternate thrifty "fashioned paperclip" method might have worked but now I was getting impatient too!
My messy style of sewing seemed to completely overrun any devotion I had to maintaining order. I have tried most of them... but had yet to find the one that works best for my style of "organized mess sewing".

The system that seemed to stick the longest was the baby terry hair bands...
I disliked this method because it a tiny bit of effort for me to see the colors if the bobbin wasn't full...
and that was apparently too much effort to keep my inner messy child in check.
So, sadly, this seemed to always end up being the norm for me...
BUT THEN!!!! I discovered the literal million and one uses for plastic tubing!
Not sure why I haven't shared this idea with you but I found a fantastic tutorial by Schlosser Designs for using these little gems on bobbins and I decided there was no reason to reinvent the wheel.
Without further delay:
DIY Bobbin Covers
from http://www.schlosserdesigns.com/2012/02/tutorial-tuesday-diy-bobbin-clips/
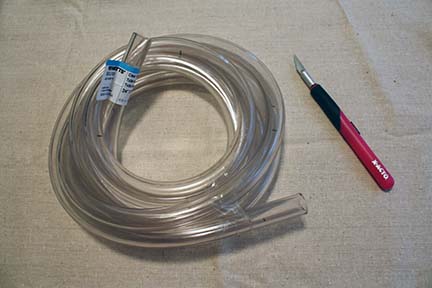
- Clear Flexible Tubing (Found in the plumbing department at your local home improvement store. I got the kind that was 3/4″ on the outside with a 1/2″ diameter on the inside.)
- X-Acto Blade
Ready to get going?
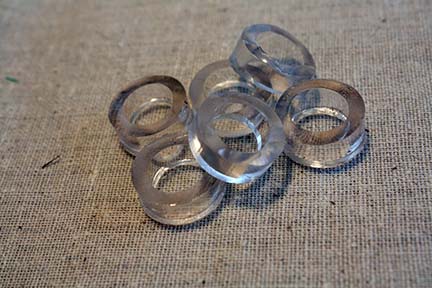
Being careful with the sharp blade, slice off some 1/4″ rings from the tubing.
Then cut down one side of each ring, opening it up.
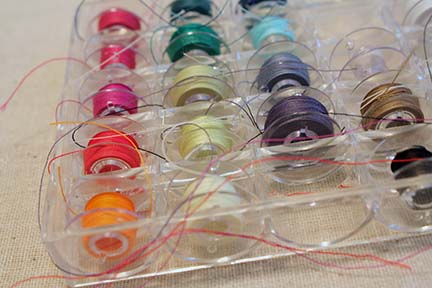
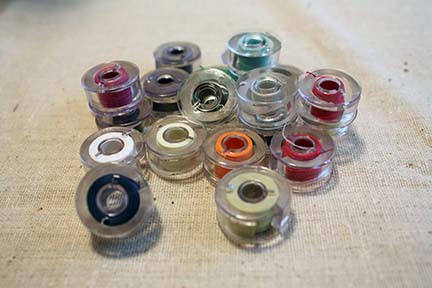
Wrap up your bobbins and slide the ring on top of your thread.
Place back in your storage container. That’s it! How easy and cheap was that? I’m thinking this would make an awesome little gift for the sewer in your life, quilt group, sewing swap, etc.
I love that they are useful no matter how full or empty your bobbin is. You don’t need a different size of tubing, it works for all your bobbins!
NOTE from me: The tubing is only slightly pricey but when you discover all the crazy uses for this tubing, you will be glad you did it.... AND its easy to see the colors on the bobbin, whether full or only 10 yards left on the bobbin!!!


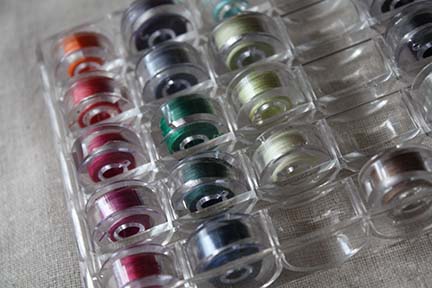
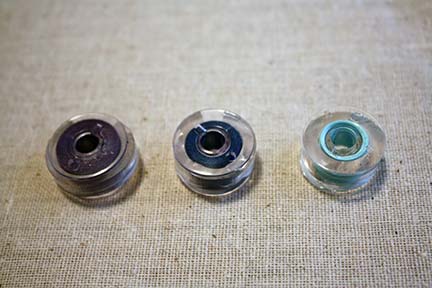
Love your ideas Jacki
ReplyDelete